(Document v4.0, using Ascgen dotNET 2.0.0, updated 20110925)
Here in the first tutorial on how to use Ascgen 2, I show you how to convert an image to a high quality fixed width text image with just a few steps and very little effort.
We will be going from this 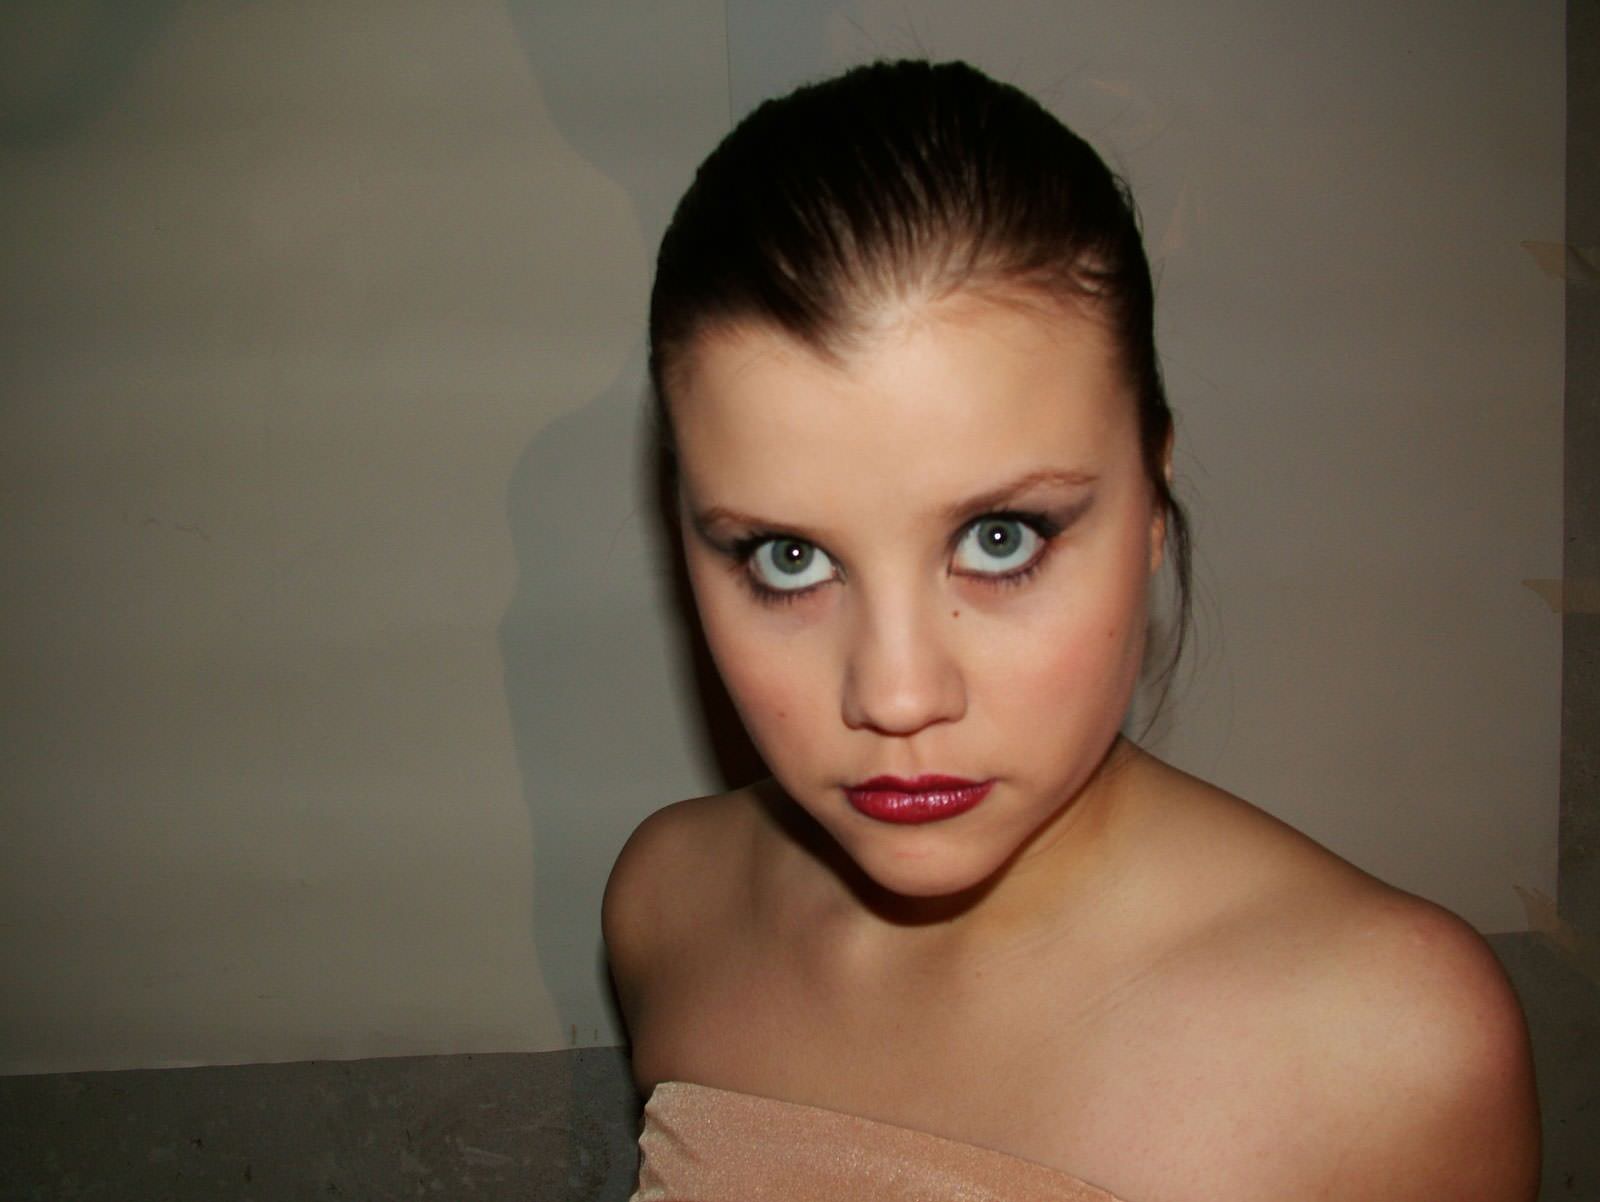 to
to 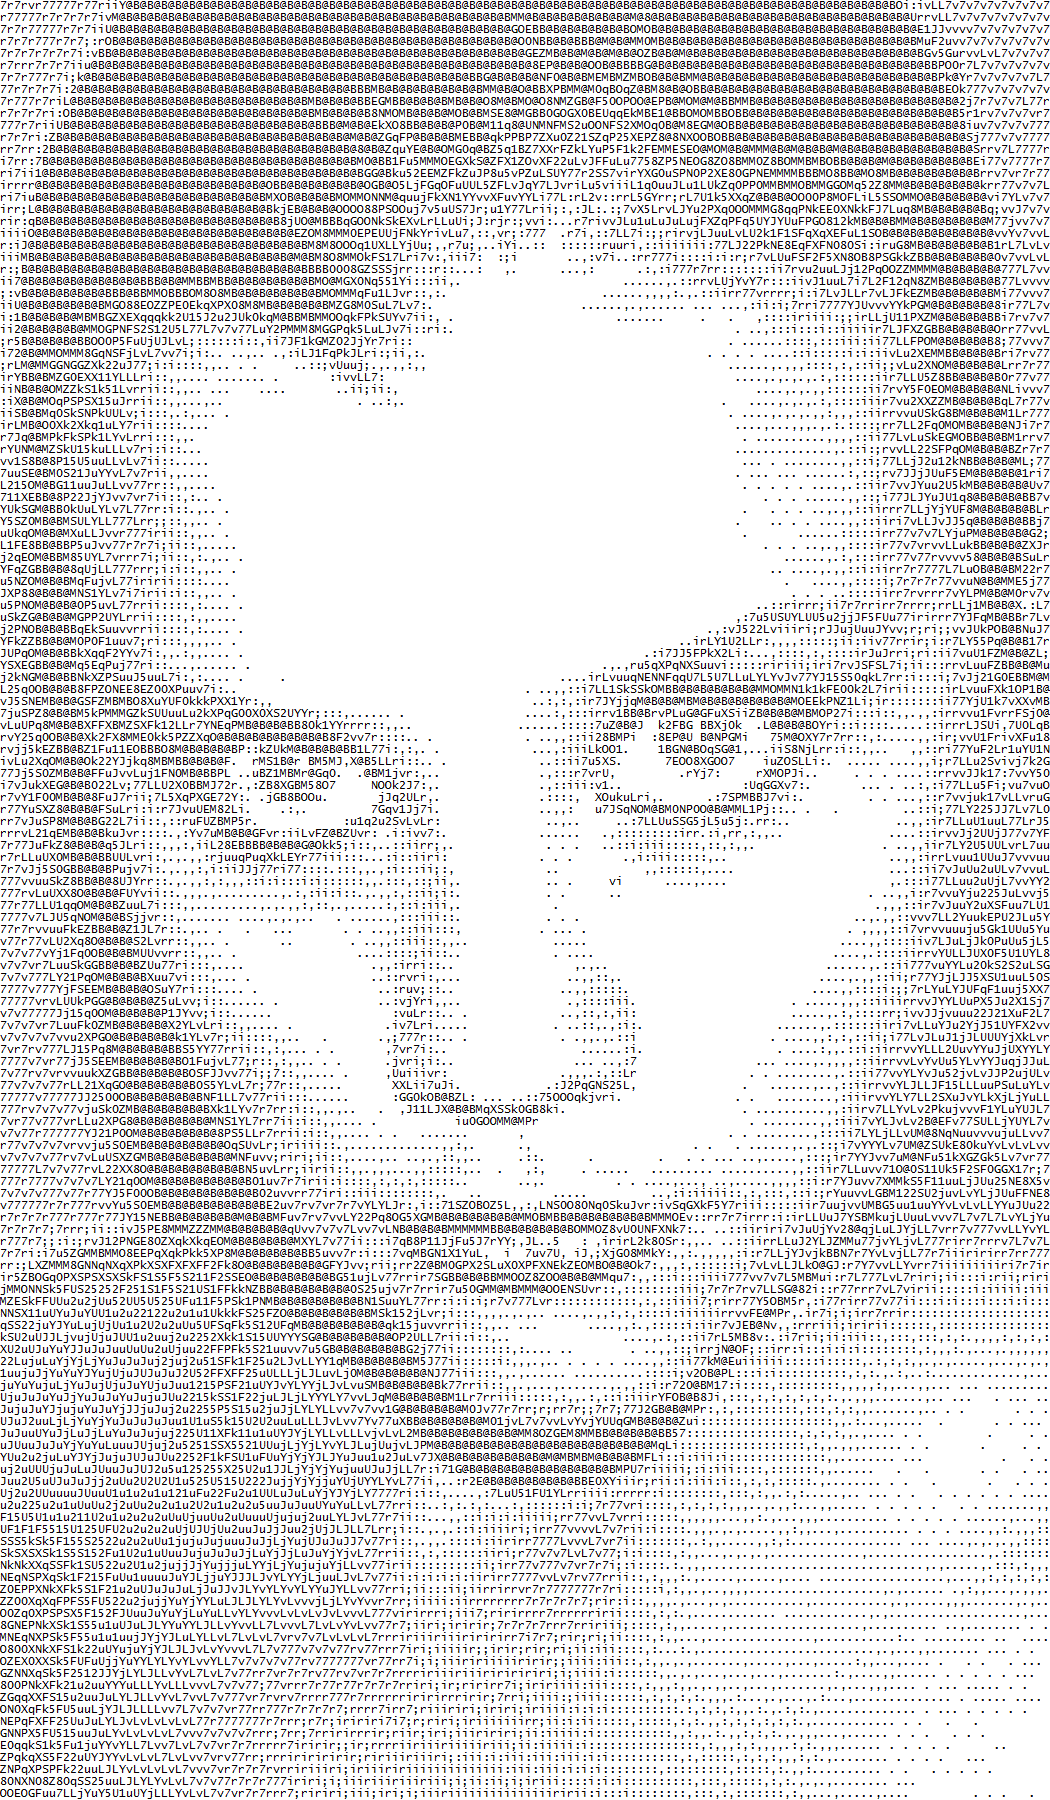 .
.
First, a quick lesson about fonts or just skip ahead to the tutorial.
There are two main types of font: Fixed Width, which has one specific size for every character, and Variable Width, which has a fixed height but the width can vary between different characters.
Fixed width fonts such as Courier New, Lucida Console, Fixedsys are traditionally used for ASCII art, however most word processors use a variable width font like Times New Roman, or Arial.
When you have selected a fixed width font, at the top of the program you will see the “Ramp” toolbar used for setting the current ASCII ramp. When you use a variable width font this will not be present, as variable width conversions do not use ramps.
We will cover variable width font conversions in a future tutorial, but for now let’s start with the default fixed width font.
Tutorial One: Creating your first image
Get a suitable image into the program
For this tutorial I will be using the following image, which was taken from a royalty free stock photo archive.
Go to “File/Load” or double-click the image area and select the image, or you can drag and drop the image onto the image tab, or just copy it and paste it with “File/Import from Clipboard”.

Select an area of the image
The resolution of the output image is far smaller than the input image, so small details will be lost or difficult to see. To produce the best output we need to zoom in and concentrate on the main subject of the image.
Click on the image and drag to create the selection area.
Click and drag the box to move it around, and use the white handles to adjust its size. If needed, you can make the input image bigger by resizing the widget that contains it.
Select the output font
For this tutorial, we will leave it at the default font settings which are Lucida Console, 9pt. The “Auto” button on the toolbar should be pushed down by default, which has the program create an accurate ASCII ramp for the font, and the ramp box will be grayed out.
Switch to full screen mode
To get a better view of the output, switch to full screen by clicking the ![]() button, or pressing F11. Alternatively, you could just maximize the window.
button, or pressing F11. Alternatively, you could just maximize the window.
Adjust the brightness/contrast and levels for the output
To get the best results you usually need to adjust the output settings. The program allows you to do this in real-time.
The recommended method for adjusting the text is through the levels control. This shows you a histogram of the current image, and allows you to adjust the minimum, median and maximum values in exactly the same way as you would in photoshop or other photo applications.
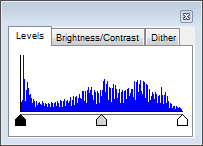
Choose the ‘Levels’ tab if it isn’t currently visible.
Click and drag the black slider to adjust the minimum level. Try and put it near the first peak. Then, click and drag the white slider to adjust the maximum level. Try and put it around the last peak. If necessary, adjust the grey slider a little to set the middle point of the range. Right-click the levels graph and select reset to return to the default values.
Another method is to adjust the output Brightness/Contrast, which is found by switching to its tab on the text widget and works in a similar way as the levels. The third tab, Dithering, is a method of introducing noise to help blend the characters together and improve the output.
Just play around with the settings until you are happy with the results.
Save the text image
Now that the image is finished, we just need to save it.
Go to “File/Save As…” and the save dialog will appear.
Let’s leave colour conversions for now. The default is black and white output, so make sure that is selected, and also the output type is text.
Set the “Save as type” drop down box for how you want to output the text image:
- Plain Text – Save the text without any font information (remember to set the correct font when you display it)
- Plain Text (Unicode) – Same as above, but will save as a unicode text file that can store ANSI and other non standard characters
- NFO – Same as Plain Text (Unicode), but with the .nfo extension
- Rich Text – Saves the text and font settings as a rtf file that can be opened by wordprocessors
- XHTML 1.1 – Saves the image and font settings to a valid html file that can be opened by web browsers.
An alternative way to save the image is by clicking on Image which will output the text into an image format.
This is useful if you want to make sure the image will be displayed looking exactly as it should look without having to worry about the font.
By default the image is resized to 75% of its original size, but you can adjust it up to 100% (the actual text size) or down to 25%. Use the arrow keys to adjust the size in smaller increments to the exact dimensions you want, or drag the slider. Click “Ok”, then set the output filename and type (.gif usually produces the smallest output sizes), and we’re done.